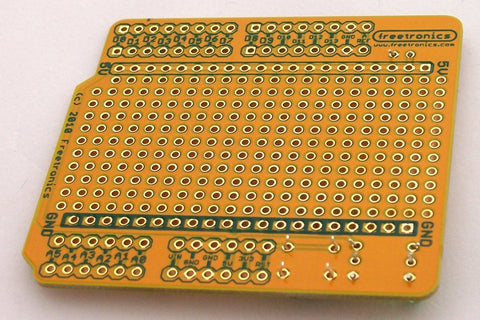
The ProtoShield Basic is supplied as a bare PCB with no other parts, but it does have mounting pads for a power-on indicator LED, a reset button, and a pair of power-supply smoothing capacitors. All these parts are optional, and you may prefer to fit only the headers and build your own circuit in the prototyping area. It's entirely up to you.

The picture shows the following parts.
ProtoShield Basic. Supplied as a bare PCB only.
Headers. 2x6 pin and 2x8 pin headers can be used to plug the ProtoShield Basic into your Arduino.
Reset button. Small tactile push-button switch with 4 pins.
Resistor. This limits the current flowing through the LED. The actual value is up to you, but we recommend 330R for a green LED, 470R for a red LED, or 680R for a blue LED.
3mm LED. We used a green one, but you can use any colour you like.
100nF capacitors. These help prevent voltage fluctuations on the power supply.
Begin by inserting the parts into the appropriate holes in the PCB. The button, LED, and capacitors should go straight in, but you'll need to bend the resistor legs 90 degrees on either side of the body before it can be fitted.
Most parts can go in either way around, but the LED is polarised so you need to fit it with the correct orientation. You'll notice that one leg is longer than the other: that's the "anode" lead, and it goes into the hole marked "+" on the PCB. The shorter lead is the "cathode", and it goes into the other hole that's linked to the ground symbol.

After you insert each part, turn the PCB over and bend the leads out so that it's firmly held in place.

Clip off each lead just a little above the PCB so that the parts are still held firmly in place.

Solder each joint in turn until all the parts are neatly soldered in place.

To fit the headers, first insert them separately into your Arduino and then sit the shield on top. Solder the headers into place, remove your shield from your Arduino, and you're ready to go!

For detailed instructions on fitting headers (both the regular type shown in these pictures and stackable headers) see the tutorial "Soldering Arduino Shield Headers".
Feedback?
Got a comment or suggestion about this tutorial? Shoot us an email!


